
In the field
Soldering and servicing an FPV drone in the field
Crash damage to propellers, a motor wire, an XT60 plug or an antenna can be fixed in the field with an iron, flux, a multimeter and a smoke stopper.
- By Power Technology training team
- 9 min read
Typical damage after a crash – broken propellers, a cut motor wire, a torn-off XT60 connector, a damaged antenna or a twisted camera – can be fixed in the field in a quarter of an hour or so if you have a portable soldering iron, good flux, a multimeter and a smoke stopper. A burnt-out ESC, a damaged flight controller or a cracked main frame plate usually means the end of flying that drone for the day. The key is the order: safe diagnosis first, then the repair, and finally a controlled first power-up.
What to pack in your field repair box
Tools
- a portable soldering iron powered from USB-C PD or a LiPo pack, with several tips: a fine one for signal pads and a wide one for power wires,
- a soldering iron stand and a heat-resistant silicone mat,
- a multimeter with a continuity test function,
- a smoke stopper, i.e. a protective device plugged in between the battery and the drone for the first power-up after a repair,
- a set of hex keys (most often 1.5 mm, 2 mm and 2.5 mm), a propeller nut wrench, tweezers, side cutters and a wire stripper,
- safety glasses.
Materials
- thin flux-cored solder (approx. 0.6–0.8 mm) and separate flux in paste or pen form,
- heat-shrink tubing in several diameters,
- insulating tape, cable ties, double-sided tape and cyanoacrylate glue,
- thread-locking compound intended for screws going into metal,
- isopropyl alcohol and cotton buds for cleaning.
Spare parts
- a set of propellers with spares, motor nuts and screws,
- an arm for your frame and a set of standoffs,
- XT60 or XT30 connectors and a length of power wire,
- antennas for the receiver and the video transmitter,
- a low-ESR capacitor for the power input, the same as the one on the drone,
- a spare motor, if you fly a lot.
If you power the soldering iron from a pack, check its permitted input voltage. Not every portable soldering iron will accept the voltage of a fully charged 6S pack.
What you can fix in the field and what you had better leave alone
| Fault | Field repair | What to watch out for |
|---|---|---|
| Broken or chipped propeller | Yes | Also replace propellers with scratches and cracks |
| Cracked arm | Yes, if the frame has replaceable arms | Check that the crack does not reach the main plate |
| Cut motor wire | Yes | Check the direction of rotation after the repair |
| Torn-off XT60 or XT30 connector | Yes | Polarity and heat-shrink tubing |
| Damaged antenna | Yes | Replace it, do not solder it |
| Bent motor shaft | Usually replace the motor | Vibration and the motor heating up |
| Burning smell, burnt-out ESC | No | Do not connect a battery in the field |
| Flight controller not responding over USB | No | Diagnostics in the workshop |
| Cracked main frame plate | No | End of flying that drone for the day |
During mechanical repairs, watch the length of the motor screws. A screw that is too long, driven through the arm, can touch the windings and cause a short circuit that you will only see when you connect the battery. After replacing a motor or an arm, check that the screws do not go in further than the original ones. Use thread-locking compound only where the screw goes into metal, and only a small amount.
Diagnosis after a crash – before you repair anything
- Disarm the motors before you approach the drone. If you do not know whether the drone is disarmed, switch it off by disconnecting the battery, keeping your hands away from the propellers.
- Disconnect the battery and check it: dents, a cut wrap, a smell of electrolyte, heat. Put a damaged pack in a fireproof bag.
- Smell the electronics. A burning smell usually means a damaged ESC or flight controller – do not connect such a drone to a battery in the field.
- Inspect the propellers, arms, camera mount and antennas.
- Turn each motor by hand. Grinding, resistance or play on the shaft mean dirt, a damaged bearing or a bent shaft.
- Check the motor and power wires – cuts, chafing, torn-off pads.
- If everything looks fine, connect the drone to a computer over USB without a battery and check in Betaflight that the flight controller works and that the drone model on the Setup tab responds to its movement.
How to solder in the field
Prepare your workstation
Solder on a table, a box or a car bonnet, never on grass or dry undergrowth. Lay out the mat, put the soldering iron in its stand and make sure the wind does not cool the tip or blow away small parts. The battery stays disconnected throughout the soldering.
Temperature and technique
Choose the temperature to suit the joint. As a rough guide, with leaded solder, small signal pads are soldered at around 320–360 °C, while thick power wires and XT60 connectors need a higher temperature and a wide tip. In wind and with a thick wire, it is better to use a bigger tip than a higher temperature.
Every good joint is made the same way: clean both parts, add flux, tin the wire and the pad separately, and then join them, applying the tip for 2–3 seconds. A finished joint is smooth and shiny, not dull and lumpy. If a pad takes a long time to heat up, do not press the tip harder – add flux or change to a wider tip. An overheated pad can lift off the board, and then a field repair becomes much more difficult.
Motor wire
Trim a cut motor wire back to an undamaged section, strip a few millimetres of insulation, tin it and solder it to the ESC pad. If the wire is too short, you can extend it with a piece of wire of the same gauge, protecting the joint with heat-shrink tubing. The order of the motor wires affects the direction of rotation – check it after the repair.
XT60 or XT30 power connector
A torn-off connector is a common fault after a crash. Before soldering, slide heat-shrink tubing onto the wires – once they are soldered there will be no way to do it. The connector is easiest to solder when it is plugged into a mating connector, e.g. an old plug without wires: the plastic deforms less and the contacts stay in place. Watch the polarity – the red wire goes to the contact marked plus. Reversed polarity when you first connect the battery is the quickest way to destroy the electronics.
Power capacitor
The capacitor at the power pads suppresses voltage spikes. If it has been torn off, solder on a new one with the same specification, observing the polarity – the leg marked minus goes to minus. Do not fly without it if the design calls for one.
Receiver and video transmitter antennas
Damaged antennas are usually replaced, not soldered. u.FL-type connectors are delicate – push them on straight, pressing with your finger, and secure the cable against tugging. Do not power the video transmitter without an antenna connected.
The first power-up after a repair
This is the moment when it is easiest to destroy the drone, so stick to the order:
- Use the multimeter to measure the resistance between plus and minus on the power connector. A reading close to zero means a short circuit – find it before you connect the battery.
- Connect the battery through the smoke stopper. If it signals too much current (e.g. its light stays on continuously) or something heats up, disconnect the power immediately.
- Without propellers, check the order and direction of motor rotation on the Motors tab in Betaflight. The Betaflight documentation repeats this deliberately: always remove the propellers before connecting the battery and testing the motors1.
- On the Receiver tab, check that all channels and the arming switch work correctly.
- Fit the propellers, check they are mounted the right way and do a short hover at low height. Watch for vibration, the sound of the motors and drift before you go back to normal flying.
Sand, dust and moisture – servicing motors and electronics
On sandy terrain, typical of former military training areas, sand gets into the motors after every landing in grass. The magnets in the motor bells attract the fine iron particles present in sand, and these can jam a motor or damage the windings. After a crash in sand, remove the propeller and turn the motor by hand. If something rubs, blow the dirt out or pull it out with a piece of tape, and for stubborn dirt remove the motor bell and clean it.
In the morning the grass is often wet with dew. After landing in wet grass, disconnect the battery, dry the drone and give it time before connecting power again. Moisture combined with flux residue and dust encourages corrosion of the pads – when you get back, clean the solder joints with isopropyl alcohol.
Safety when working in the field
- Fire risk. A hot tip, a spark from a short circuit or a damaged pack on dry grass is enough to start a fire. Keep a fire extinguisher at your workstation and never put the soldering iron down outside its stand.
- Flux fumes. The UK Health and Safety Executive (HSE) identifies fumes from rosin-based fluxes as one of the main causes of occupational asthma2. Solder so that the fumes do not go straight into your face – in the field, position yourself so that the wind carries them away from you.
- Lead. Leaded solder is convenient to work with, but wash your hands after work before eating or drinking.
- Eyes. Clipped wire ends and spattering solder can hit your eye – wear glasses.
- Burns. The tip and freshly soldered parts stay hot for a long time. Do not test with your finger whether they have cooled down.
- Battery. Always solder with the battery disconnected, and keep damaged packs in a fireproof bag away from the workstation.
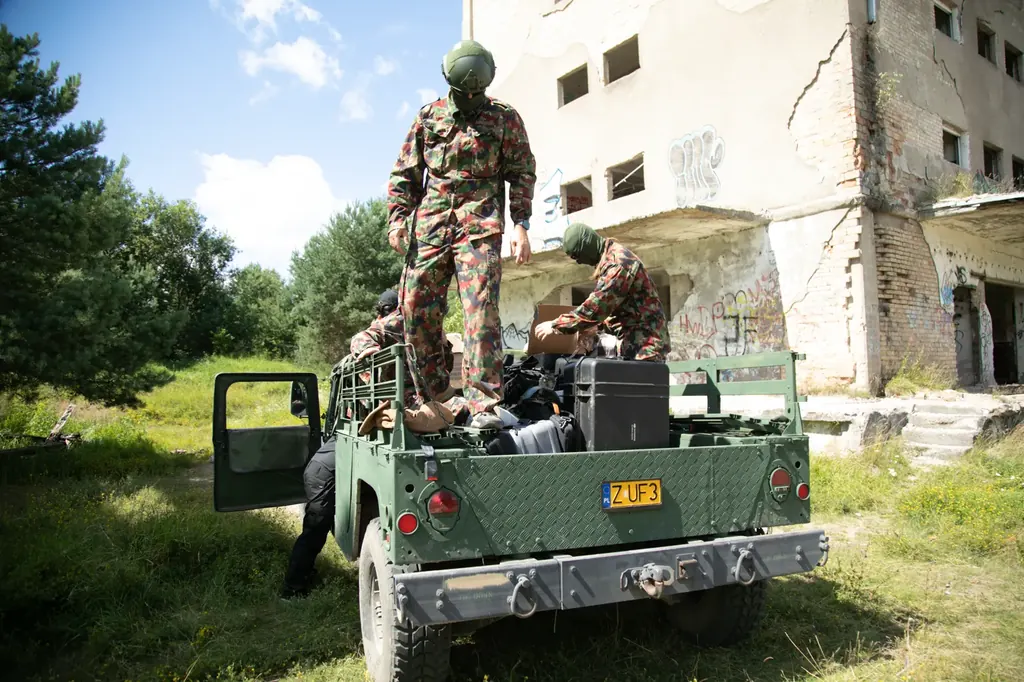
On the course in Borne Sulinowo we practise post-crash diagnosis and a safe first power-up after a repair in the field.
Key points
- In the field you can fix propellers, motor wires, power connectors, the capacitor and antennas; burnt-out electronics wait for the workshop.
- After a crash, disarm the motors and disconnect the battery first, then check the pack, the smell of the electronics and that the motors spin freely.
- Solder on a non-flammable surface, with flux, tinning the wire and the pad separately, with the battery disconnected.
- After a repair, check for a short with a multimeter, connect the battery through a smoke stopper and test the motors without propellers.
- On sandy terrain, check after every crash that there is no sand or metal particles in the motors.
- Keep a fire extinguisher and safety glasses at your workstation and do not breathe in flux fumes.
Betaflight, Motors Tab – app documentation: https://betaflight.com/docs/wiki/app/motors-tab ↩
Health and Safety Executive (HSE), Solderer – rosin based solder flux fume and occupational asthma: https://www.hse.gov.uk/asthma/solderers.htm ↩