First steps
A plan for your first 20 hours in an FPV simulator
Split 20 simulator hours into six blocks – from setup and hovering to courses and a readiness test. Short sessions, acro mode, rates as on your drone.
- By Power Technology training team
- 9 min read
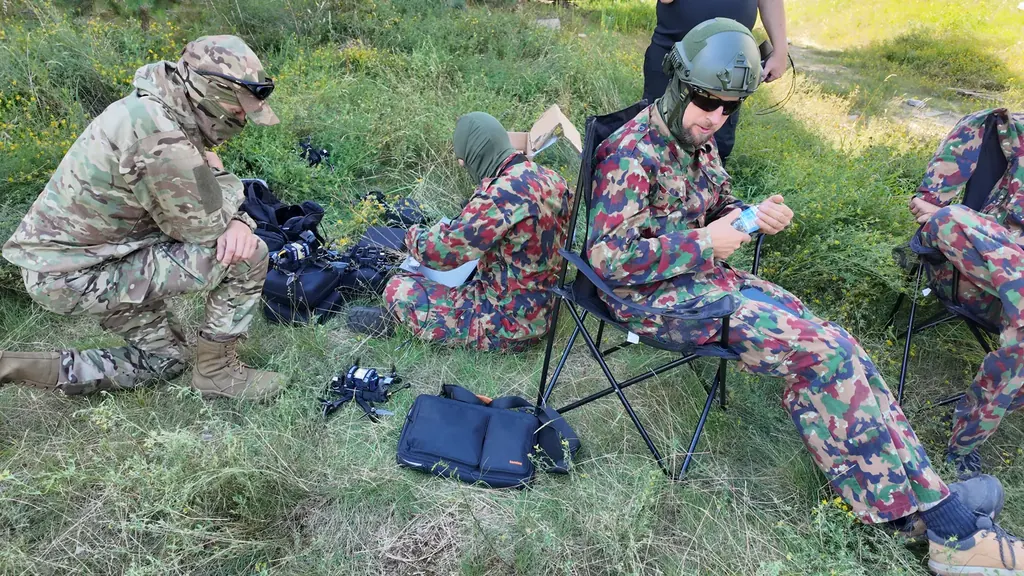
Split your first 20 hours in an FPV simulator into six blocks: setup and hovering, throttle control, turns, flying between obstacles, basic manoeuvres and simulating real flights. Train in sessions of 30–45 minutes several times a week, in acro mode and with settings close to those of your future drone. This plan will not turn you into a racer, but it will make your first flight in the field calm rather than a struggle to keep the drone in the air.
Why you start with a simulator, not a drone
An FPV drone in acro mode does not hold its attitude or height by itself. Stick deflection sets the rate of rotation, and the throttle has to be corrected constantly. You cannot learn this from a manual – you need muscle memory, and that is built through hundreds of repetitions. In a simulator you crash at no cost, without risk to people and without waiting for batteries to charge.
A simulator has a second advantage: it teaches the correct reaction in an emergency. The reflex "I'm losing control – I disarm the motors" is worth having ingrained before you arm a real drone for the first time.
Popular simulators such as Liftoff, VelociDrone, Uncrashed and TRYP FPV differ in physics and maps, but any one that lets you set rates and camera angle and connect your radio over USB will do for this plan. More important than which program you choose is that you stick to one for the first 20 hours.
How to set up the simulator before your first hour
Radio and sticks
Practise on the same radio you will fly with. Most radios running EdgeTX let you select joystick mode (USB HID) when connected by USB cable – the simulator then sees it as a game controller. A console gamepad is fine for a few minutes of fun, but not for learning: it has short stick travel and a centring spring on the throttle.
Before your first session, check:
- the stick mode – most often Mode 2, i.e. throttle and yaw on the left stick,
- that the throttle stick has no centring spring – it must stay where you leave it,
- the calibration in the simulator – full range on every channel and the stick centres exactly in the middle,
- the arming switch – assign it to the same switch you will use on your real drone.
The last point seems like a detail, but it is exactly what makes your hand reach for the right switch under stress.
Rates, camera and drone weight
Rates determine how fast the drone rotates for a given stick deflection. In the simulator, enter values close to those you will set in Betaflight – popular simulators support the same rate models. To begin with, choose moderate rates with a gentle stick centre. Settings that are too sensitive mean that every twitch of your thumb ends in a jerk.
Set the camera tilt angle (uptilt) to around 15–25°. With a small angle it is easier to control the drone at low speed, and over time you can increase it along with your flying speed. Set the field of view so that the image resembles what you will see in your goggles, not an extreme wide-angle "fisheye" effect.
Set the drone's weight and thrust in the simulator to match the class of equipment you will start with – most often a 5″ on a 6S pack or a lighter training drone.
The 20-hour plan in six blocks
Treat the hours as a guide. Move on to the next block only when you meet the criterion of the previous one.
| Block | Hours | Goal | Criterion for moving on |
|---|---|---|---|
| 1 | 0–2 | Setup, hovering, landing | 30 s hover at a constant height in acro |
| 2 | 2–5 | Throttle and speed control | Straight-line flight and a stop without losing height |
| 3 | 5–9 | Coordinated turns | A figure of eight around two points without touching the ground |
| 4 | 9–13 | Flying between obstacles | A lap of a simple course without a collision |
| 5 | 13–17 | Basic manoeuvres | Split-S and a turnaround with height control |
| 6 | 17–20 | Simulating real flights | Three flights of 3–4 minutes without crashing |
What you practise in each block
Block 1 – hovering and landing
You can spend the first few minutes in angle mode to get used to the camera image, but switch to acro quickly. Practise hovering at a height of 2–3 m, small movements forwards and sideways, and landing on a chosen spot. After every crash, disarm the motors immediately before you reset the drone.
Block 2 – throttle and speed
Fly in a straight line over flat ground, keeping a constant height. Accelerate and brake: to lose speed without sinking, tilt the drone back and add throttle at the same time. This is the most important skill in the whole plan, because a great many beginners' crashes start with an uncontrolled descent after cutting the throttle.
Block 3 – turns
A turn in FPV combines roll and yaw with a throttle correction. Practise wide circles around a tree or a post, then figures of eight around two points. Make sure the object you are flying around stays in the same place in the frame – that is a sign the turn is smooth.
Block 4 – obstacles
Start with simple gates set far apart and fly through them slowly. Then move on to terrain with trees. Fly as slowly as you need to avoid making mistakes – speed will come by itself, and bad habits picked up from rushing are hard to get rid of later. When you clip a branch and lose control, do not try to save the flight at all costs – disarm the motors, just as you will in the field.
Block 5 – manoeuvres
A split-S, i.e. a half roll finished with a half loop downwards, teaches you to turn around with a controlled loss of height. A power loop, i.e. a vertical loop, teaches you to work the throttle while the drone is inverted. Practise both manoeuvres high above the ground, with a big safety margin. If your simulator has a turtle mode for flipping the drone over after a crash, assign it to the same switch you will use in Betaflight.
Block 6 – simulating real flights
Choose a map that resembles an open field or the edge of a forest. Set a timer to the length of a typical flight on one battery and fly in series: take-off, flight, landing on a marked spot, break. Record your flights and watch for the moments when you lose height or control.
How to train so that simulator time pays off
- Short and often. Four 40-minute sessions a week will give you more than one five-hour session on a Saturday.
- One session, one goal. Write it down before you start, e.g. "figures of eight to the left, then to the right".
- Practise both sides. Almost everyone has a direction in which they turn more confidently – spend more time on the weaker one.
- Start with a warm-up: 3–5 minutes of hovering and gentle circles.
- Do part of your sessions in goggles, if they have an HDMI input. You will get used to the image and to any motion sickness before you go out into the field.
- Keep a simple log: date, time, goal, whether the criterion was met.
- Every few sessions, go back to exercises from earlier blocks. Hovering and figures of eight quickly lose their smoothness when you practise only showy manoeuvres.
- If the simulator can display an OSD with flight time and voltage, switch it on. You will get used to glancing at this data during the flight.
- Stop when you feel tired or dizzy. Tired hands reinforce mistakes.
When you are ready for a real drone
After 20 hours you should be able to do the following without thinking:
- keep a constant height when flying forwards and in turns,
- stop the drone and hover in place,
- fly a circle and a figure of eight in both directions,
- land on a marked spot,
- disarm the motors immediately after losing control or crashing.
If any of these still gives you trouble, add a few hours in the relevant block. The pace of learning varies a lot – what counts is the skill, not the hour counter.
Your first flight with a real drone will be different. Wind, video latency, weaker batteries in the cold and plain stress will make you fly worse than in the simulator for the first few minutes. That is normal. That is why you should make your first flights over open, empty ground, with plenty of height above obstacles and with an instructor or an experienced observer next to you. On the course in Borne Sulinowo we practise this transition in the field, under an instructor's supervision.
What the simulator will not teach you
A simulator will not prepare you for the regulations or for handling the equipment. Before you fly in the field, meet the legal requirements:
- Register as an operator and mark the drone with your operator number. You do not need to register only if the drone weighs less than 250 g and has no camera, or is a toy within the meaning of the regulations – an FPV drone has a camera, so in practice registration is required1. You register in the EU country where you live.
- Complete the training and pass the online exam for subcategory A1/A3. In Poland you do this in your operator profile on the Polish Civil Aviation Authority (ULC) website, and the exam consists of 40 multiple-choice questions2.
- When flying with goggles in the open category, you must have an observer who stands next to you, can see the drone at all times and can warn you of a hazard immediately1.
- Take out third-party liability insurance. In Poland, since 13 November 2025 insurance has been compulsory for operators of drones weighing from 250 g to 20 kg3.
The simulator will not teach you how to charge and store LiPo batteries, inspect the drone before a flight or diagnose faults either. These are separate skills, and it is worth mastering them alongside your flying practice.
Key points
- Split the 20 hours into six blocks and move on only after meeting the criterion of the previous one.
- Fly in acro, on your own radio, with rates and camera angle close to your real drone.
- The most important skill is throttle control, i.e. holding height when changing speed and in turns.
- Short, regular sessions with one goal achieve more than long marathons.
- Build the reflex of disarming the motors immediately after losing control while you are still in the simulator.
- Before your first flight in the field, sort out registration, A1/A3 training and liability insurance, and make sure you have an observer.
EASA, Drones (UAS) – frequently asked questions (operator registration, flying with FPV goggles in the open category): https://www.easa.europa.eu/en/the-agency/faqs/drones-uas ↩ ↩
Civil Aviation Authority of Poland (ULC), What does the open category exam look like? (in Polish): https://ulc.gov.pl/drony/informacje-ogolne/czesto-zadawane-pytania-faq/kategoria-otwarta/jak-wyglada-egzamin-dla-kategorii-otwartej ↩
Financial Ombudsman (Rzecznik Finansowy), Compulsory third-party liability insurance for drone operators (in Polish): https://rf.gov.pl/obowiazkowe-ubezpieczenie-oc-dla-operatora-drona/ ↩